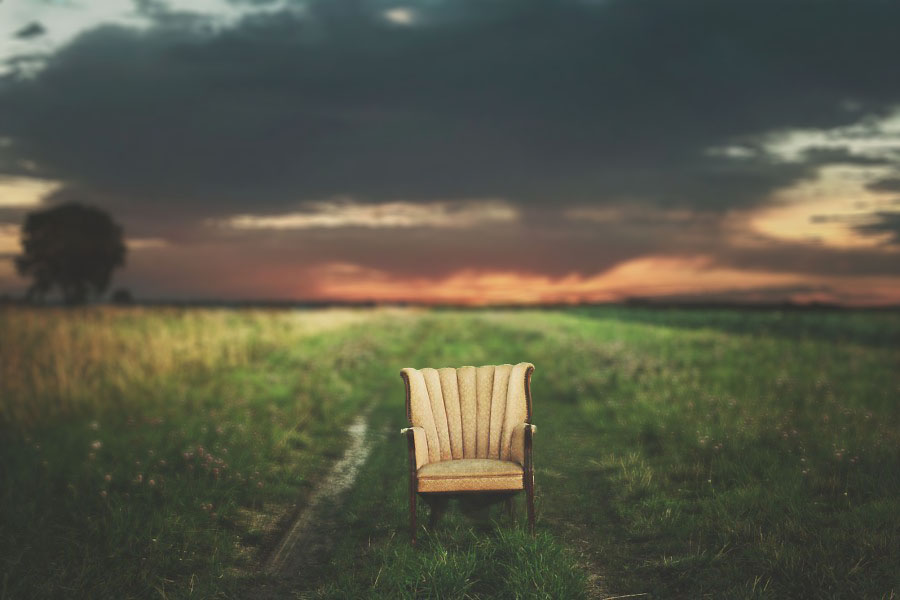
Who doesn't want amazing background bokeh? Sometimes its easier said than done in the beginning.. There are several ways to achieve this.. One is obviously in camera, and definitely the best alternative of the two. Then we have post processing, Photoshop Background blur. But to be perfectly honest you need to have some in camera background blur to achieve a realistic background blur in Photoshop. So The most important is creating in camera.
1. Separate your subject from the background.. --- The farther away the background is the better background blur you will achieve. 10 feet is always a good starting point if you can.
2. Set your Fstop - Aka - Aperture -- keep in mind the smaller the aperture. The smaller your focus circle is. So if you are photographing a whole body or multiple people an Fstop of 1.8 from a distance is going to be difficult to achieve a good focus. Lower is not always better. Also note that its never a great idea to go as low as your lens Fstop. Always stay a few stops up. 1.2 maybe no lower than 1.8 .. 1.8 no lower than 2.0 and so on.. There are some lenses that do function beautifully at their lowest setting but its a really good rule of thumb.
Normally I set my F-stop according to the amount of people. If its a family of 4 then an f-stop of 4.0 is perfect. If 'I'm shooting 2 people Fstop of 2.5 - 3.0 is perfect. But always bare in mind the distance you are from your subject because this can also make your radius smaller.. You could potentially shoot 4 people at 2.5-3.0 if you are shooting much closer range.. If you are going for full body I would stick with the 4.0.
Now we have Set our subject about 5-10 feet away from our background (farther the better) And set our Fstop.. This should get you a decent bokeh background blur... Sometimes you just want more than what you can achieve in camera . Either because you couldn't get the distance from the background or because you just want to create something that more resembles a more expensive lense. This can be done in Photoshop. There are several tricks to achieving this.. First remember any blur is going to expand your subject.. Meaning if you blur it in photoshop is going to flare around the edges of your subject so it will be very noticeable that you have used a post process blur and not in camera. Also note that you cannot always go ham on the blur. Do as little or as much as you can before it looks to unrealistic. I find the more original blur I have the better the blur in Post it looks..
For demonstration purposes ... Just to give you an idea of how Fstop works.. You can see how changing Fstop changing how much around your subject is in focus.
To Start This process - Open your Image
1. Duplicate the background .
2. Clone or patch out your subject. I prefer patch especially in CS6-CC . When doing this you can cheat by only cloning out the edges we are only trying to avoid the blur flare off our subject.
LENS BLUR - Click to see full settings
3. Use quick selection to select your subjects. then go to Select/Save selection name it and save.
4. Deselect now go to lens blur and use the settings to right adjusting your the radius only.
5. Click your blur layer and Create a mask
6. Now click the Fill Gradient tool.. Make sure its black and white. Click on the Mask Tool and go over to your image and make a straight line going up and down.. it should unblur some of the bottom of your image making it look a bit more natural.
7. Be sure you are still on the layer mask on your layer. Go up to load selection and choose your selection.
8. check your color pallete be sure the background color is black. With your selection selected and black being your background color click DEL on your keyboard that should make
your subjects now stand out. and no longer be Blurred.


